
Start with a small building and one clear camera angle. A cottage beside a path is enough to learn Chunky's world selection, preview and render controls. The first goal is a readable image, not the largest possible canvas.
Use a complete copy of a closed Java world that your Chunky release supports. Stable 2.4.6 lists support through Java 1.20.4; the development snapshot has a different compatibility range. Choose the world and renderer together rather than opening a modern save and assuming missing blocks are an artistic effect. Bedrock saves are not native inputs. Check the renderer’s supported game versions before choosing your world copy.
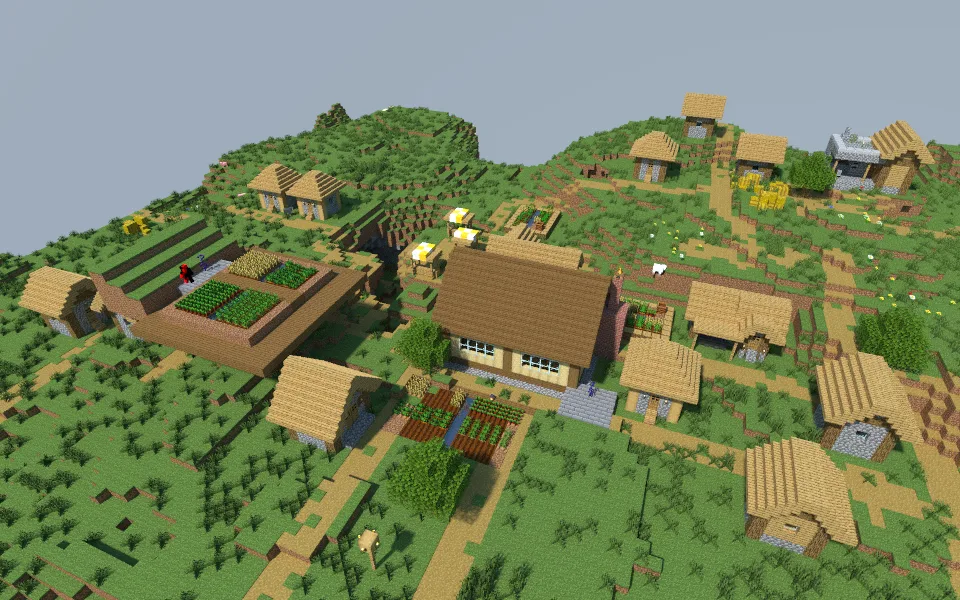
The Field Workshop rendered from a Java 26.2 world copy in Chunky 2.5.0-SNAPSHOT.478.g527cb4a: 960 × 600, with 130 completed samples per pixel.
The example uses a Java 26.2 copy of our Field Workshop rendered in a development build. The scene contains an unsupported Waystones block, so use the surrounding vanilla building and landscape as the composition example.
Load enough landscape for the frame
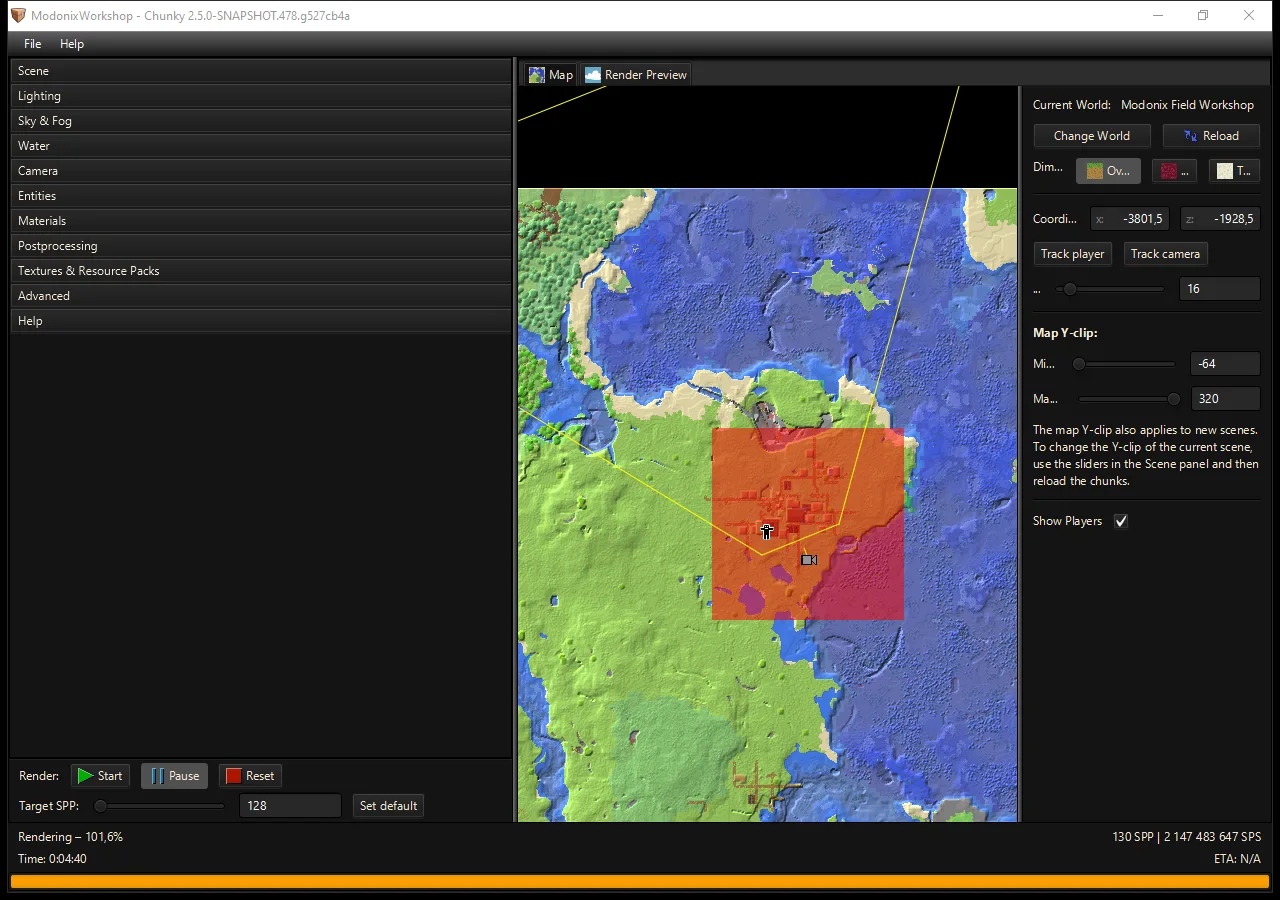
Chunky's Map tab shows the loaded Field Workshop, the selected scene area and the camera position.
Open Map View → Change World, choose the copied world and select Load selected world. Choose the dimension and select the chunks around your building. Include its background ridge or riverbank as well as the footprint. In the chunk controls, load the selected chunks into a new scene.
Use the preview to put the entrance, roof and foreground in a useful relationship. Look for accidental overlaps: a tree directly behind a chimney, a horizon through the doorway or a nearby fence filling half the image. Moving a few blocks sideways is often more effective than widening the field of view.
Set a modest canvas, for example 960 × 540, for this first draft. In the lighting controls, begin with daylight and avoid adding fog and many glowing lights at once. That keeps the first composition easier to read. Keep the first scene easy to adjust before committing to a longer render.
Render in two decisions
First decide whether you like the picture. Start a short render, then inspect the silhouette, framing and brightness at the size someone will actually view it. If the porch disappears into shadow, change the lighting or camera before asking the renderer for more samples.
Only then decide how much refinement the image needs. More samples reduce noise; they do not repair a clipped roof or an unhelpful angle. Small bright emitters and enclosed spaces may need substantially more work than a simple daytime exterior.
Give the scene a descriptive name and save it. To stop, pause the render and save the scene before closing. Use Save current frame to export the current image. Keep both that image and the scene, since the scene lets you make another version without rebuilding the camera setup.
For your second picture, change just one thing: warmer light, a lower viewpoint or a closer detail. Label shared images as Chunky renders so their appearance is understood separately from ordinary gameplay.
Comments & questions
Share what worked, ask for help or reply to another player.
No comments yet. Share what worked for you.