
A texture can look convincing as one square and turn into a visible grid across a wall. Check both the tile edges and the larger rhythm before adding small details.
Build a simple masonry exercise
Open a block-art document in the texture studio. For a new 16×16 exercise, fill a base layer with warm gray #8C8170, add mortar in #4F514B, and use #B9AA8D for a few restrained highlights. These colors are a starting palette, not a downloadable pack.
Draw one horizontal mortar line and stagger the vertical joints above and below it. Continue any line that reaches an edge at the matching position on the opposite edge. Keep the number of colors small while solving the joins.
Read the preview at two scales
Open Repeat preview, choose Tile count: 3×3 and Arrangement: Uniform repeats. Turn on Show tile borders to find the exact joins. Then turn borders off: a line visible only when borders are enabled belongs to the preview, not the artwork.
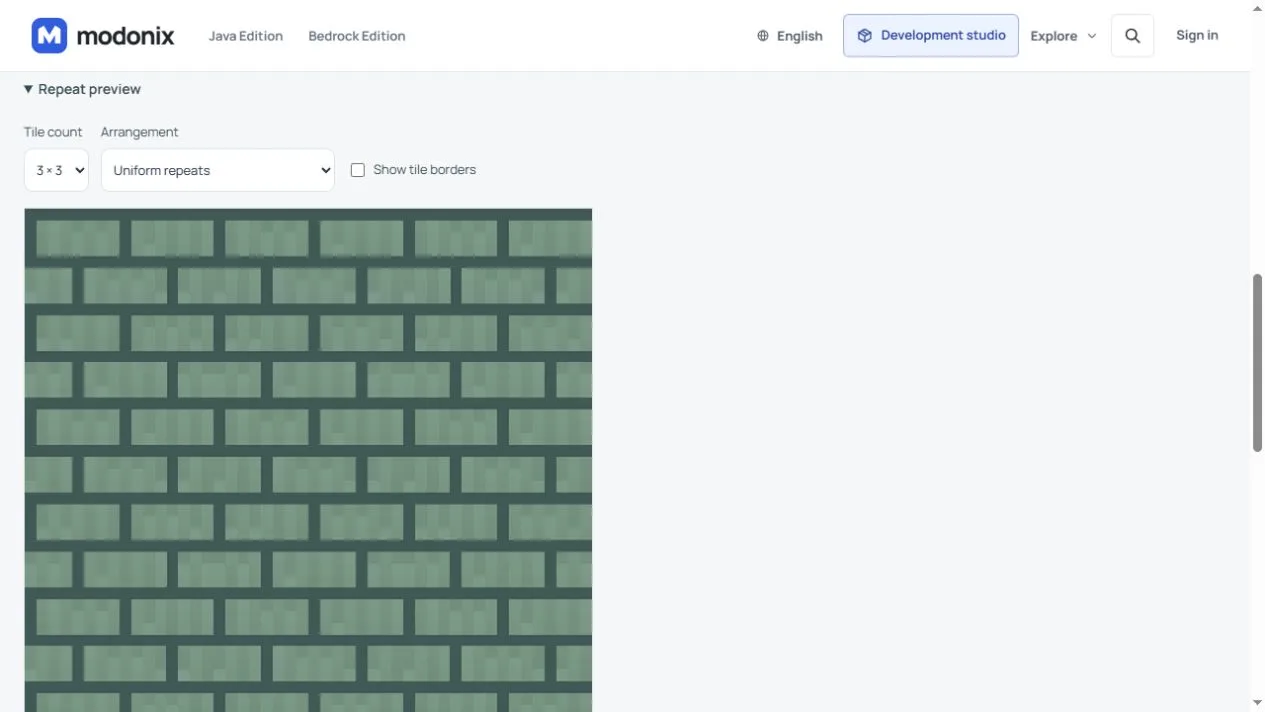
Check left against right and top against bottom. If a mortar line jumps by one pixel, make a new layer for seam corrections and repair the relevant edge. Recheck the whole pattern after each change; fixing one side can expose a different join.
Repair the Harbor wall join with two pixels
Harbor Masonry Study and Harbor Masonry keep the same warm stone, dark mortar and restrained highlights. The finished tile changes only two pixels on the right edge. That makes the join a useful problem to solve without repainting the whole wall.
- Keep the saved Harbor masonry before document as your reference. Use Duplicate project for the repair copy so the starting tile remains available. Its three artwork layers are Stone base, Mortar and Stone edges.
- Add a layer named Seam correction above them. At the editor's one-based Pixel 16,1, paint mortar
#4F514B. At Pixel 16,2, paint the base stone#8C8170. The starting tile has those colors in the opposite positions; this moves the mortar end up one pixel to meet the left edge. - Open Repeat preview at 3×3, with Uniform repeats. Use Show tile borders to locate the join, then turn borders off. Compare the starting and repaired documents at the same zoom and arrangement; the preview border is not a painted seam.
- Save the repaired document separately as Harbor masonry after and reopen it with all four layers visible. Return to 9×9 to inspect the broader rhythm before copying the intended artwork into the constructor.
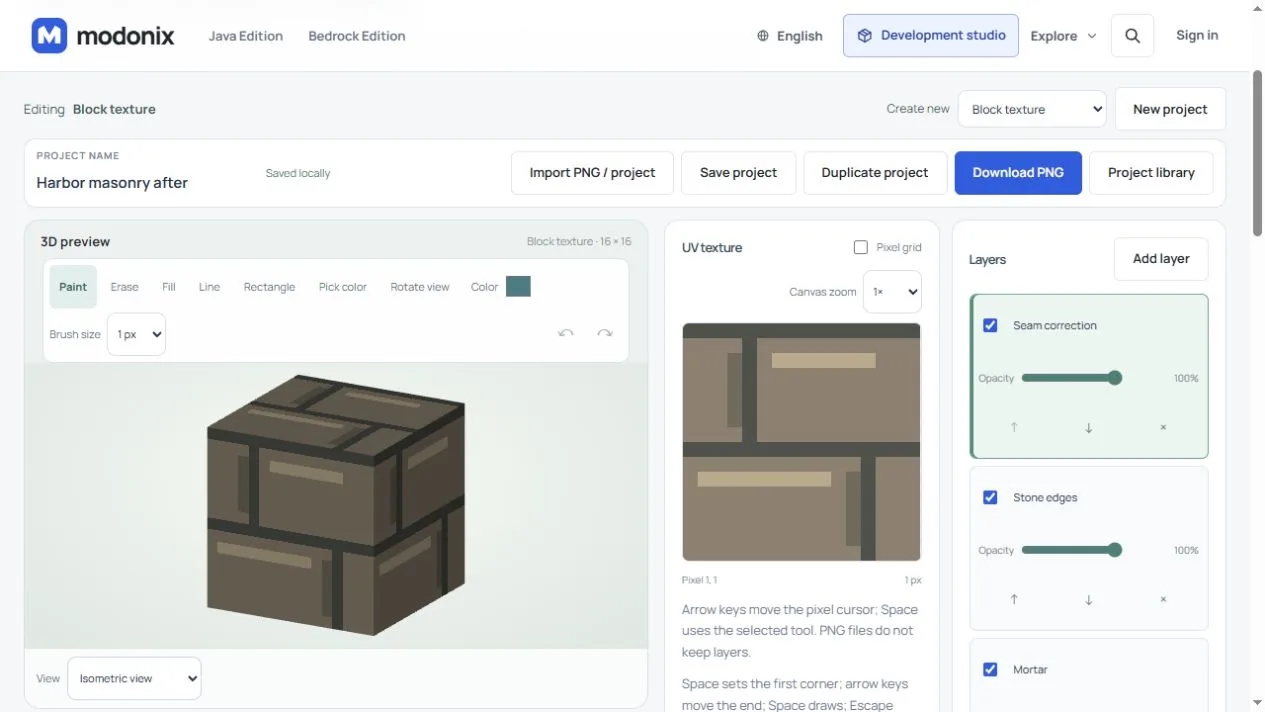
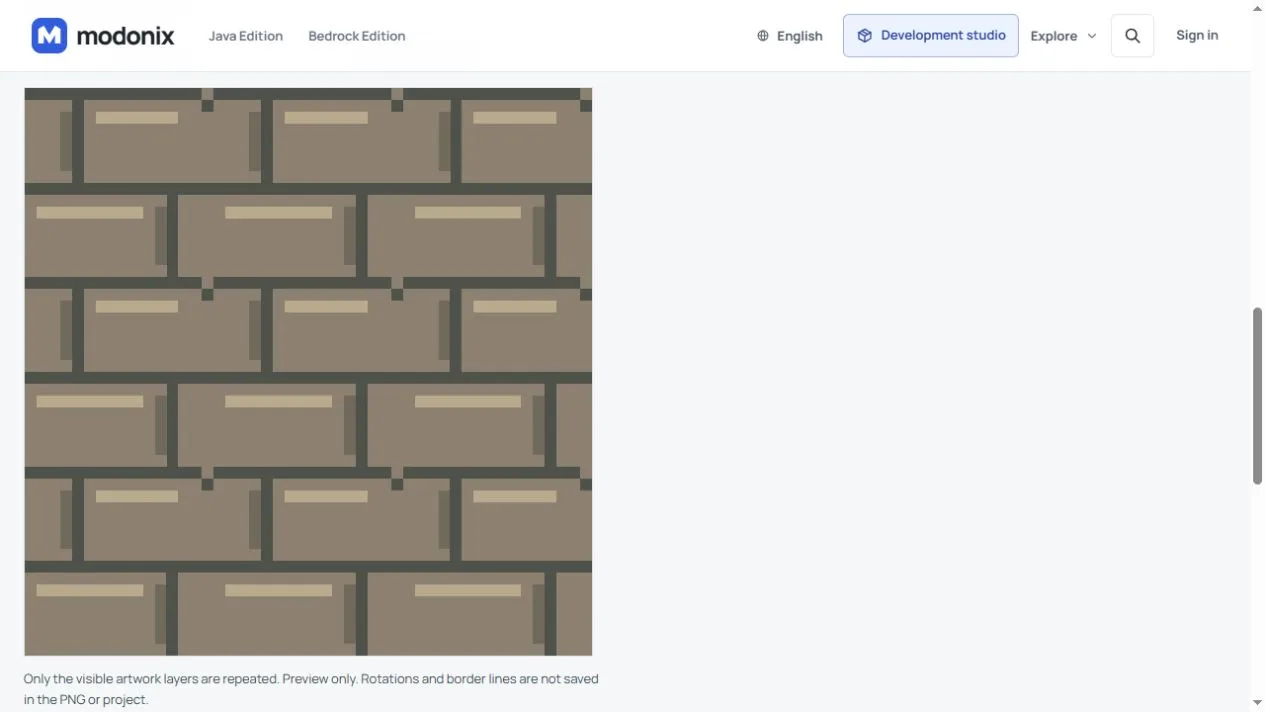
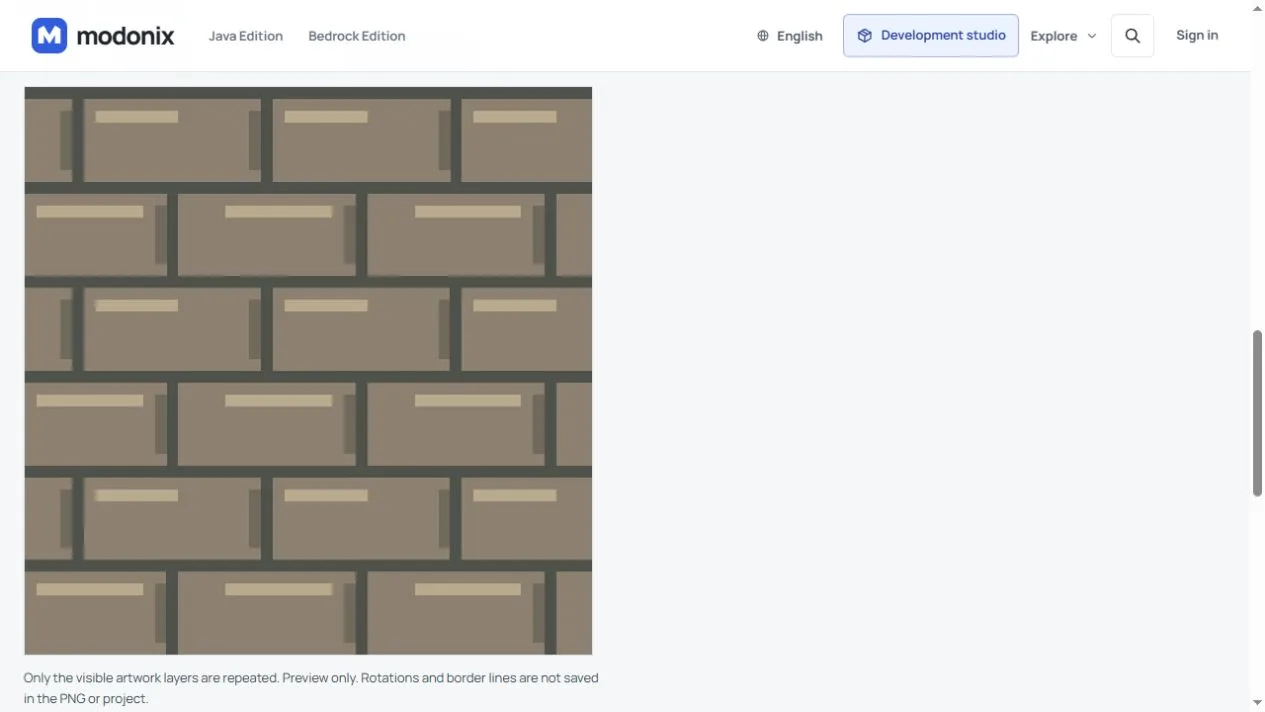
The palette stays #8C8170 for the stone, #4F514B for mortar, #B9AA8D for highlights and #706A5D for shadow. Keep the repair on its own layer: if a later change creates a new join, you can inspect that small correction without disturbing the stone shading.
For a workshop interior, use the finished tile on a wall behind a bench and continue the test surface around a corner. Keep the furniture and lighting in place when comparing the Study and finished tiles. First look close enough to follow one mortar line, then step back to judge whether repeated highlights form a distracting grid. Copying a corrected flat image is one step; the corner, block orientation and room lighting still deserve their own look.
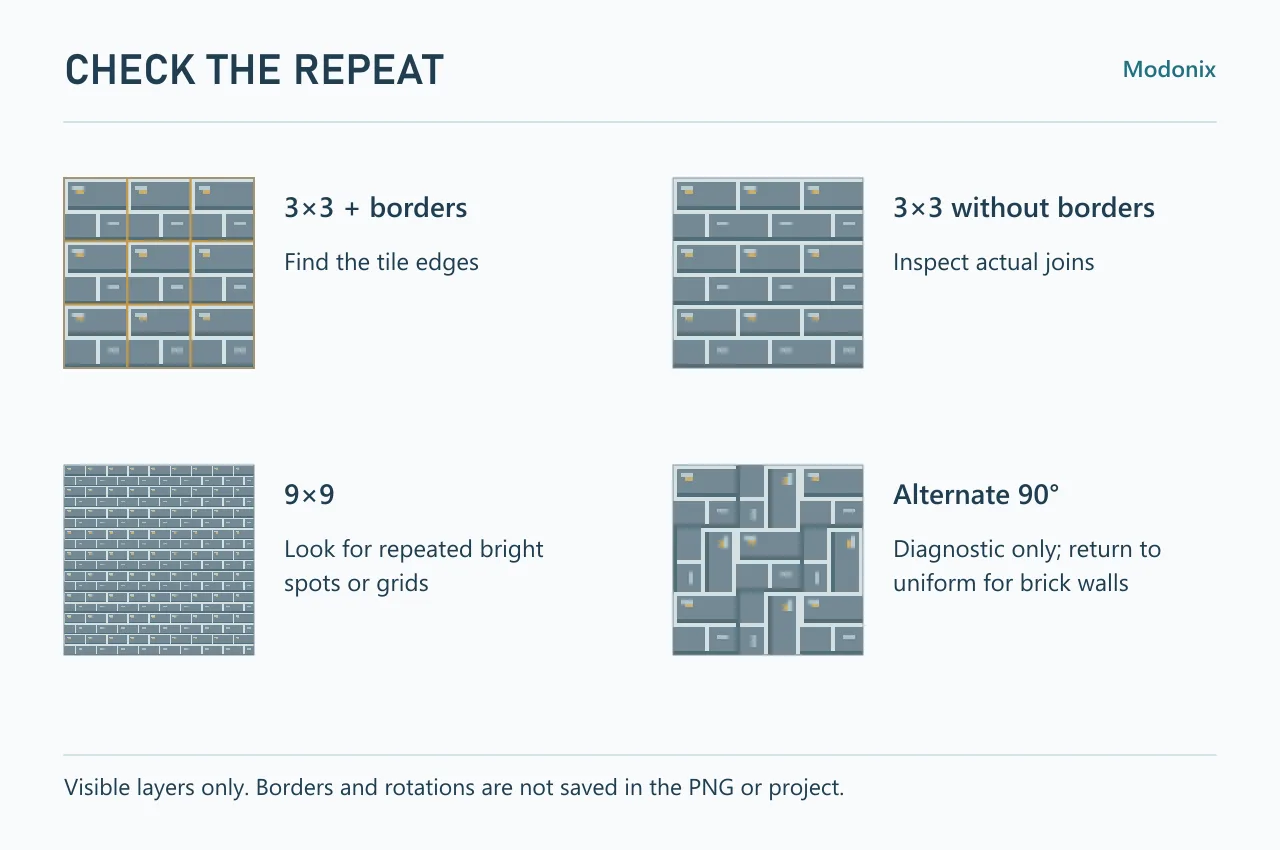
Switch to 9×9 for a different question: does one bright fleck become a regular polka-dot pattern, or does a dark edge draw a heavy grid? Reduce that accent or distribute the shading more evenly. Do not hide a repeated defect under extra noise.
Use rotation as a diagnostic
Alternate 90° tiles (preview only) turns alternating tiles by a quarter turn. It can reveal direction-sensitive seams, but it does not make Minecraft randomly rotate your blocks. Return to uniform repeats when judging a directional brick wall.
The preview repeats only visible artwork layers. Its rotations and border lines are not saved into the PNG or project. Save the editable art, then copy the intended texture into the constructor as a separate step; later edits to the art are not an automatic update of an earlier copy.
For that next step, the single-block texture guide keeps the first replacement manageable. Inspect a wall corner and a wider surface in the game before extending the palette to a room. A clean repeat preview answers a flat-image question; block orientation, lighting and the final pack still need their own check.
Comments 0
Share what worked, ask for help or reply to another player.
Use your Modonix account to join the discussion and manage your comments.
Sign in to commentNo comments yet. Share what worked for you.